


Add Velo
to Shopware.
Install the Velo cookie banner and Google Consent Mode v2 on Shopware with one line in your storefront template. Most installs take a few minutes when you already have admin access to the site. If you run Google Tag Manager, that route is on this page too.
Instructions and image sources reviewed 23 September 2026.
Paste one line
into base.html.twig.
Add your site’s snippet to the site-wide head, then publish and test the result. If your measurement tags already run through Google Tag Manager, use the route below.
Already running Google Tag Manager? Take that route instead ↓
Three steps · about six minutes
-
01
Copy the line
Copy the complete installation snippet for this site from your Velo dashboard. The example below shows the format; replace your-site-id before using it. Keep the API endpoint supplied by your dashboard.
<script src="https://cdn.veloconsent.com/v1/velo.js" data-api="https://app.veloconsent.com" data-velo-site="your-site-id" async></script> -
02
Extend the storefront head template
In your custom theme or plugin, extend storefront/base.html.twig and override base_head. Paste the complete Velo snippet before the parent() call, preserving the parent output. Deploy, compile the theme and clear the cache. Do not edit Shopware’s core templates.
Shopware · storefront template
{% sw_extends '@Storefront/storefront/base.html.twig' %}
{% block base_head %}
  {# Paste the complete Velo snippet from your dashboard here. #}
  {{ parent() }}
{% endblock %}
Verified configuration reference · 23 September 2026 Configuration reference checked against the platform documentation. This is not an admin screenshot.
Platform documentation ↗ -
03
Publish and check the live site
Save and publish the change using the platform steps above, then clear any site or CDN cache. Open the published URL in a fresh browser session. Check the banner where your region rules require it, test accepting and rejecting, and verify consent defaults and updates before your measurement tags run. Confirm the site appears as installed in your Velo dashboard.
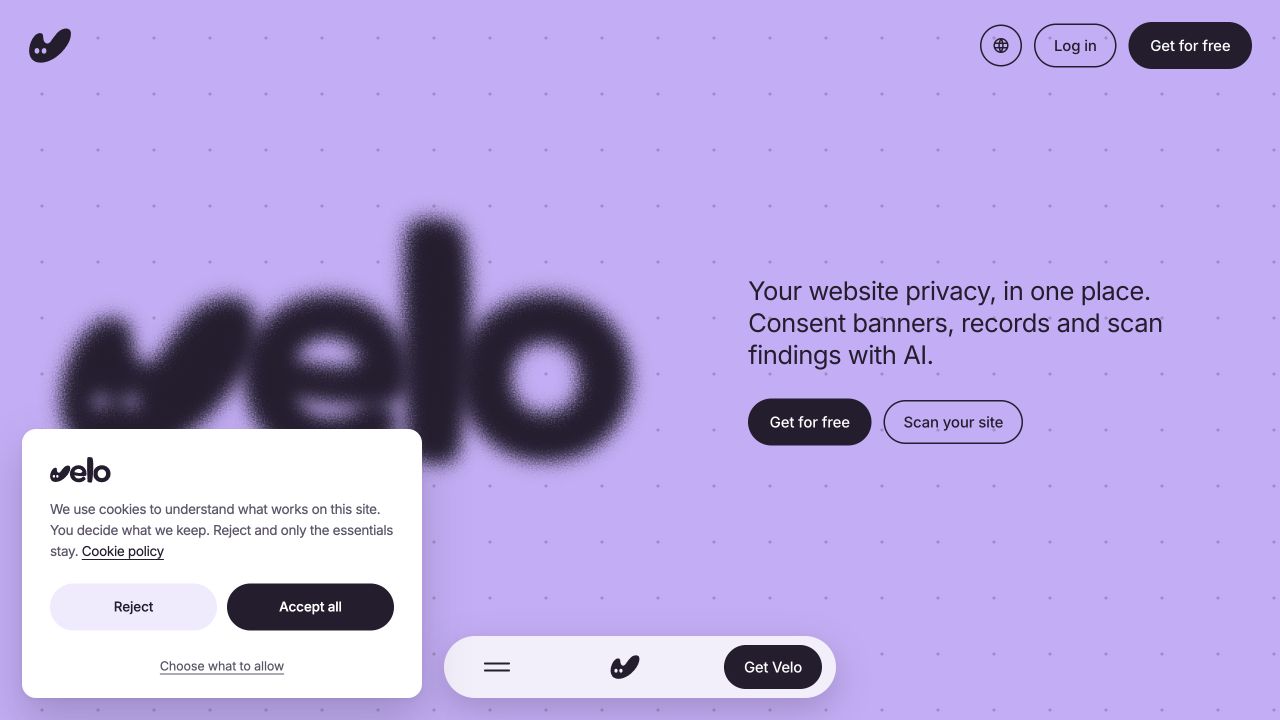
Live interface capture · 23 September 2026 The real banner on veloconsent.com, captured on 23 September 2026. Your banner’s copy, layout and region settings may differ.
Velo live site ↗View full size ↗
If the banner does not render after the edit, it is almost always the theme cache: recompile the theme, clear the cache, hard reload. Then confirm the snippet sits inside the base_head block your theme actually extends, with the parent() call still in place.
Still comparing options? Read why teams use Velo on Shopware, or see every supported platform.
Or add the tag
in Tag Manager.
Already have a Google Tag Manager web container on this site? Add Velo from the Community Template Gallery and configure it there. If you need to install the container first, use your platform’s supported integration and check it on the published URL.
- 01Add the Velo CMP templateTemplates→Tag Templates→New→Search Gallery
- 02Create the tagTags→New→Velo CMP template
- 03Review the advanced optionsAdvanced→url_passthrough→ads_data_redaction
- 04Fire it on Consent Initialization – All PagesTriggering→Consent Initialization – All Pages
- 05Enable the consent overviewAdmin→Container Settings→Enable consent overview
- 06Preview, then publishPreview→Submit→Publish
Velo CMP · tag configuration
- Velo site ID
- Copy the exact site ID from your Velo dashboard.
- Banner theme
- Light or Dark
- Velo API endpoint (optional)
- Use the API endpoint shown in your Velo installation settings.
Field names checked against the published Velo CMP template. Use your own site ID and API endpoint.
Velo CMP template ↗Shopware questions,
answered.
What teams installing on Shopware ask first.
Which Shopware version does this cover?
The steps target Shopware 6. Shopware 5 works the same way through its index template, but it has reached end of life, so the Tag Manager route is the cleaner path there while you plan the upgrade.
Shopware ships its own cookie bar.
Deactivate it for the sales channel so Velo is the only consent layer running. Two banners confuse visitors, and only Velo wires the decision into Consent Mode and the audit log.
Why is the banner not showing after the edit?
Almost always the theme cache: recompile the theme and clear the cache, then hard reload. If it still does not render, confirm the snippet sits inside the base_head block your theme actually extends.
Will it slow the site down?
The dashboard snippet loads asynchronously. As with any script, measure its effect on your site and check your tag order; asynchronous loading alone does not guarantee consent defaults run before other tags.
Can an AI assistant do this for me?
Yes. Copy the prompt in Install with agents, just below, into Claude, ChatGPT, Cursor or whichever assistant you already use. It carries the steps on this page, the order the tags have to load in, and the checks the agent has to run before it tells you the job is done.
Or hand it
to an agent.
Copy the prompt into Claude, ChatGPT, Cursor or whichever assistant you already use. It carries everything on this page: both routes, the order the tags have to load in, and the checks that prove it worked.
Paste this prompt into your assistant, then provide your site ID and the complete installation snippet or GTM settings from your Velo dashboard.
Working with an agent that reads the web? Point it at veloconsent.com/llms.txt and /install.md for the same context in plain text.
From the journal.
Website privacy, in one place.
Scan your site →