


Add Velo
to Astro.
Install the Velo cookie banner and Google Consent Mode v2 on Astro with one line in your shared layout. Most installs take a few minutes when you already have admin access to the site. If you run Google Tag Manager, that route is on this page too.
Instructions and image sources reviewed 7 November 2026.
Paste one line
into your layout.
Add your site’s snippet to the site-wide head, then publish and test the result. If your measurement tags already run through Google Tag Manager, use the route below.
Already using Google Tag Manager? Skip the code and do it there ↓
Three steps · about five minutes
-
01
Copy the line
Copy the complete installation snippet for this site from your Velo dashboard. The example below shows the format; replace your-site-id before using it. Keep the API endpoint supplied by your dashboard.
<script src="https://cdn.veloconsent.com/v1/velo.js" data-api="https://app.veloconsent.com" data-velo-site="your-site-id" async></script> -
02
Paste it into your shared layout
In the layout every page shares, usually src/layouts/Layout.astro, paste your complete Velo snippet inside <head>, above any analytics or advertising tags, and add is:inline to the script tag so Astro leaves it exactly as written. If the layout uses <ClientRouter />, Astro replaces the body on every navigation, which removes the banner: in the same head, add an is:inline script that stores #velo-banner-host and #velo-reopener-host on astro:before-swap and appends them to document.body on astro:after-swap. Build and deploy.
Astro · shared layout
<!-- src/layouts/Layout.astro: the layout every page shares -->
<html lang="en">
  <head>
    <meta charset="utf-8" />
    <!-- Paste the complete Velo snippet from your dashboard here, then add is:inline. -->
    <script is:inline src="https://cdn.veloconsent.com/v1/velo.js"
            data-api="https://app.veloconsent.com"
            data-velo-site="your-site-id" async></script>

    <!-- Only if this layout uses <ClientRouter />: keeps the banner across page swaps. -->
    <script is:inline>
      document.addEventListener('astro:before-swap', () => {
        window.veloHosts = [...document.querySelectorAll('#velo-banner-host, #velo-reopener-host')];
      });
      document.addEventListener('astro:after-swap', () => {
        document.body.append(...window.veloHosts);
      });
    </script>
  </head>
  <body>
    <slot />
  </body>
</html>
Verified configuration reference · 7 November 2026 Configuration reference checked against the platform documentation. This is not an admin screenshot.
Platform documentation ↗ -
03
Publish and check the live site
Save and publish the change using the platform steps above, then clear any site or CDN cache. Open the published URL in a fresh browser session. Check the banner where your region rules require it, test accepting and rejecting, and verify consent defaults and updates before your measurement tags run. Confirm the site appears as installed in your Velo dashboard.
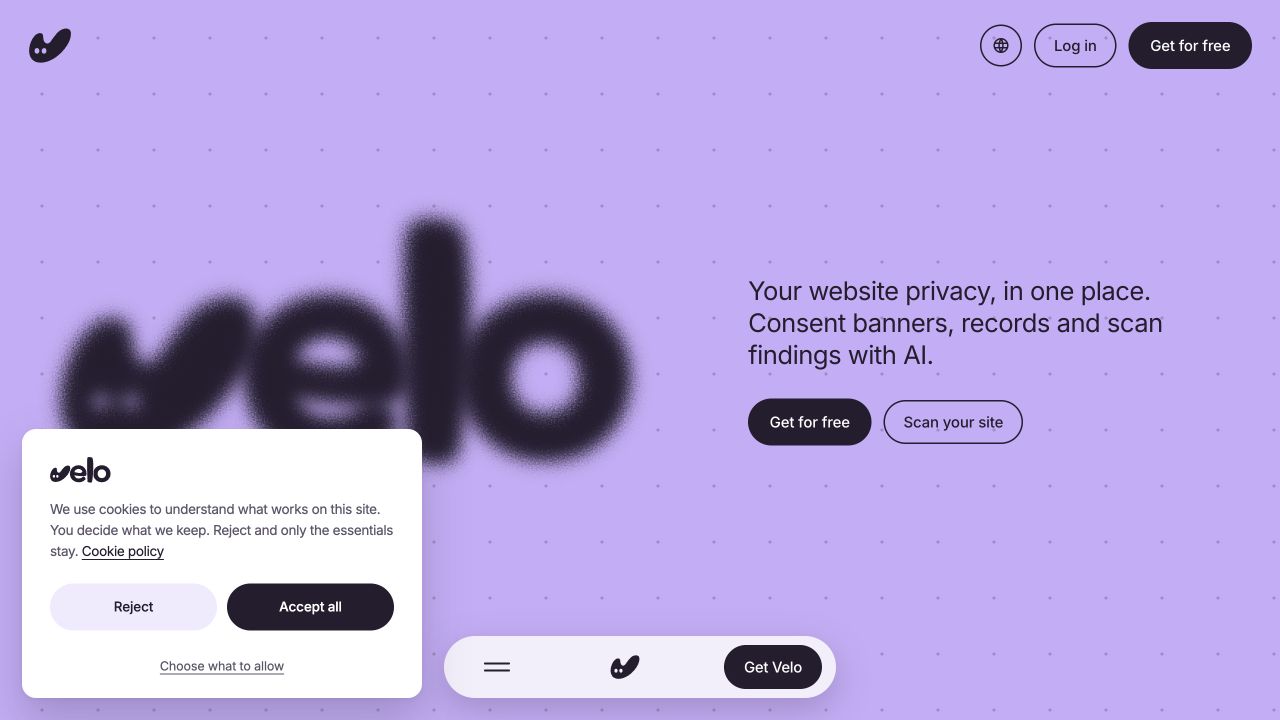
Live interface capture · 23 September 2026 The real banner on veloconsent.com, captured on 23 September 2026. Your banner’s copy, layout and region settings may differ.
Velo live site ↗View full size ↗
Running ClientRouter? Astro replaces the whole page body on each navigation, which removes the banner and the button that reopens it. Add the short second script shown in step 2 and both stay. Without ClientRouter every link is a full page load, and the script is not needed.
Still comparing options? See every supported platform.
Use Tag Manager?
Skip the code.
If Google Tag Manager is already on your site, this is the easiest way to add Velo. There’s no code to touch, it takes four short steps, and all your tags stay in one place.
- 01
Add Velo to Tag Manager
Open the Velo template, click Add to workspace, then pick your container.
Open the Velo template ↗ - 02
Paste your site ID
In Tag Manager, open Tags and click New. Click Tag Configuration, choose Velo CMP and paste your site ID. You’ll find it in your Velo dashboard. Leave everything else as it is.
- 03
Make it load first
Click Triggering, choose Consent Initialization – All Pages, then click Save. This lets Velo start before your other tags.
- 04
Publish and check it
Click Submit, then Publish. Preview alone doesn’t put Velo live. Then open your site in a private window, try the banner, and check that it shows as installed in your Velo dashboard.
Using ClientRouter? You still need the short script from the Astro steps above, or the banner disappears when visitors change page.
Astro questions,
answered.
What teams installing on Astro ask first.
Which Astro sites does this cover?
Any Astro project with a shared layout, static or server rendered, because the tag sits in the HTML the layout outputs. We tested the steps on Astro 7 with static output.
Do I have to add is:inline?
It is the safe default. Astro leaves any script with attributes other than src as written, so the snippet already stays intact, and is:inline says so explicitly. Keep the data attributes exactly as your dashboard shows them.
The banner disappears when I click a link.
That is ClientRouter replacing the page body on navigation. Add the second script from step 2 to the same head, and the banner and the button that reopens it carry over to each new page. Astro’s transition:persist does not help here, because Velo adds those elements after the page has loaded.
My site has more than one layout.
Put the snippet in the base layout the others wrap. If your layouts do not share one, add it to each. Velo ignores a second copy on the same page, but check that every section of the site shows the banner.
Will it slow the site down?
The dashboard snippet loads asynchronously. As with any script, measure its effect on your site and check your tag order; asynchronous loading alone does not guarantee consent defaults run before other tags.
Can an AI assistant do this for me?
Yes. Copy the prompt in Install with agents, just below, into Claude, ChatGPT, Cursor or whichever assistant you already use. It carries the steps on this page, the order the tags have to load in, and the checks the agent has to run before it tells you the job is done.
Or hand it
to an agent.
Copy the prompt into Claude, ChatGPT, Cursor or whichever assistant you already use. It carries everything on this page: both routes, the order the tags have to load in, and the checks that prove it worked.
Paste this prompt into your assistant, then provide your site ID and the complete installation snippet or GTM settings from your Velo dashboard.
Working with an agent that reads the web? Point it at veloconsent.com/llms.txt and /install.md for the same context in plain text.